Category: Tutorials
-
ActivityPub WordPress Plugin for Fediverse
I just installed ActivityPub WordPress Plugin along with Hum, WebFinger, NodeInfo WordPress plugins in order for this to become part of the fediverse.
-
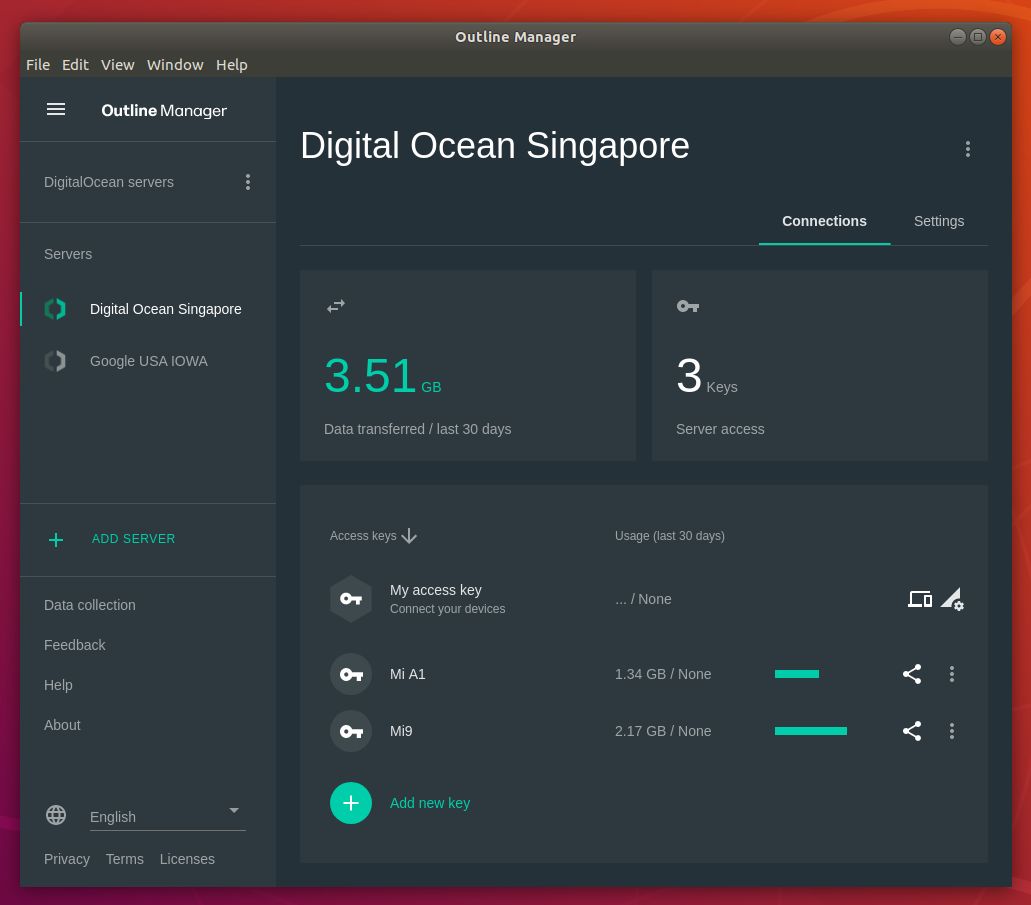
Setup your own VPN server with Outline in less than 10 minutes
If you’ve stumbled upon this post via Google or search engine, I’m hoping that you’re already familiar with using VPN and you’ve already expected to see how to guide to setup your own VPN. If you’re not familiar with the term VPN below is the tl;dr for you to understand what VPN is. TL;DR: Virtual…
-
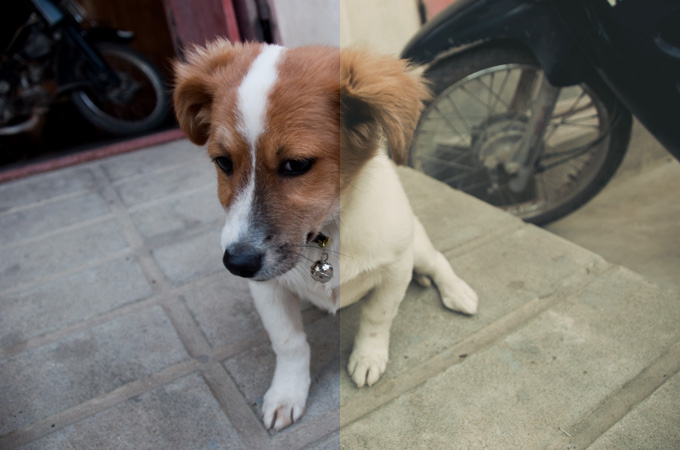
How to create vintage retro effect in Photoshop
I used to do vintage alike photos with Photoshop. Some of my friends asked me how to do it. It wasn’t hard as you think but it is really depends on the color, contrast and tone involved in your photos. I’m going to show you few steps that make your photos vintage retro alike using…
-

How to use Google Web Fonts
It is really considered to be painful when it comes to design the website with the custom type faces. Web designers and developers are limited to use web safe fonts when specifying the type faces to make the site support in all OS platforms. Thanks to the modern web browsers, you can now use and…
-
How to change database engine of many Mysql tables
For some reasons, you have to change the default engine of your mysql database tables to another engine. For example, MyISAM to InnoDB. MySql allows us to change by using command line and if you’re using phpMyAdmin, you just need a few clicks.
-
Turn your photo into Pencil Painting
My brother wrote a very simple Photoshop tutorial that can turn your photo into pencil drawing using Photoshop. Click for more detail.
-
Changing Password in WordPress
It is really important that you should change your password immediately when you logged in your wordpress panel for this first time after fresh installation of your WordPress. To change your password, click admin link next to “Howdy” text message in upper right corner of your WordPress panel Or type yourblogaddress.com/wp-admin/profile.php in browser address bar.…
-
Web Search Strategies in Plain English
Videos from Common Craft show make us easier to understand the complex technology by explaining with screenshots and simple English. Some of the videos such as Rss in Plain English, Blogs in Plain English and Twitter in Plain English are really noticeable. Now they released the new video Web Search Strategies in Plain English that…
-
Tilt-shift Fake Photography
The method of Tilt-shift is to focus on a single part of the photo and shift (blur) the other area. I am a huge fan of Tilt-shift and have been learning for a while. Tilt-shit lenses are too expensive for me and of course, I don’t have a professional camera too. But we can get…
-
Overview of WordPress Admin panel
After successful logged in your wordpress, you’ll see the wordpress dashboard. WordPress Dashboard includes Write, Manage, Design and Comments panel. Write Write panel where you can write new post, page and link (blogroll). Manage Manage panel where you can manage posts, pages, categories, Tags, Media, Importing posts from wordpress xml file or other blogging system.…